Painting Sneakers Part 2 - Kobe Bryant
In the previous post I discussed how I got into this hobby of painting sneakers by painting shoes in the OSU style to wear for the bowl game. I also mentioned how our grandson Austin is a big fan of basketball and sneakers - in particular he wanted shoes that would honor Kobe Bryant.
Step 1 - Design Kobe Sneakers
We went to Dick’s Sporting Goods to buy a pair of white Nike Air Force 1. Then I took pictures of the shoes to use for design on the computer on the Paint.net application.
Austin wanted to include the jersey numbers that Kobe had with the Lakers, with 8 on the outside and 24 on the inside sides of the shoes. He also wanted Kobe’s high-school number 33 on the back of the shoes. For the front he wanted the black mamba logo. The Lakers colors of purple and yellow were to be used.
The final design looked like this:

Note: The colors in the design are a little bleached out because they were added as a top layer that was at a reduced opacity to allow the background patterns of the shoe stitching to show through. Also, the final implementation the numbers were painted purple and the ones on the side were moved to the swish logo.
Step 2 - Prepare Surface and Tape
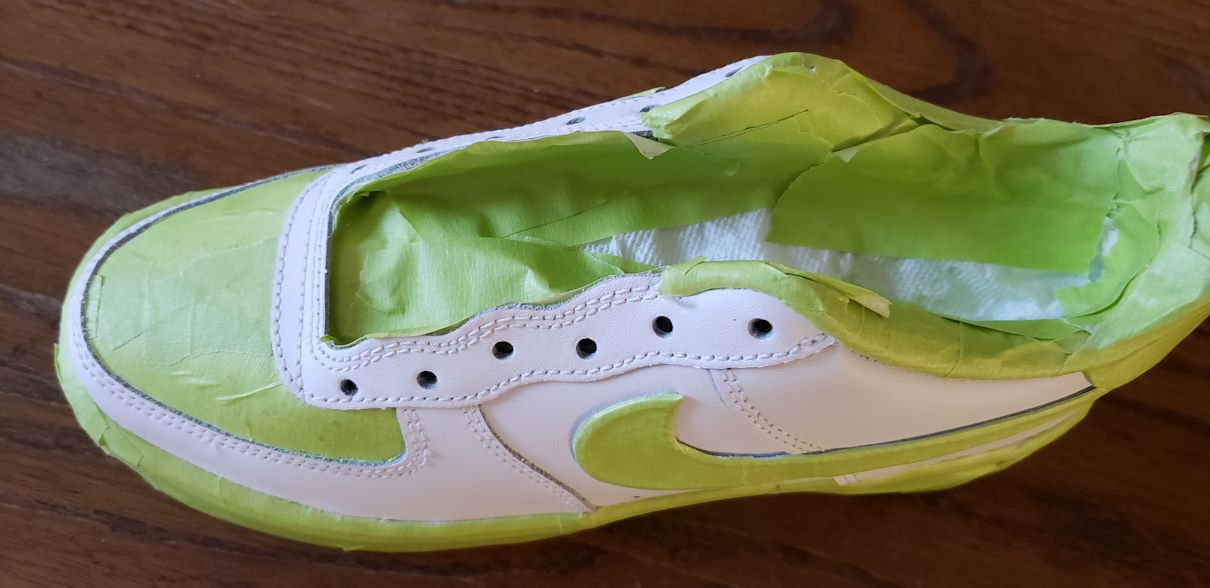
The shoes were prepared similarly as described in the previous post, by first treating with acetone (nail polish remover), and then masking all of the parts that wouldn’t be painted purple with green painter’s tape.
Sneakers after surface prep and masking:
Step 3 - Paint the Colors
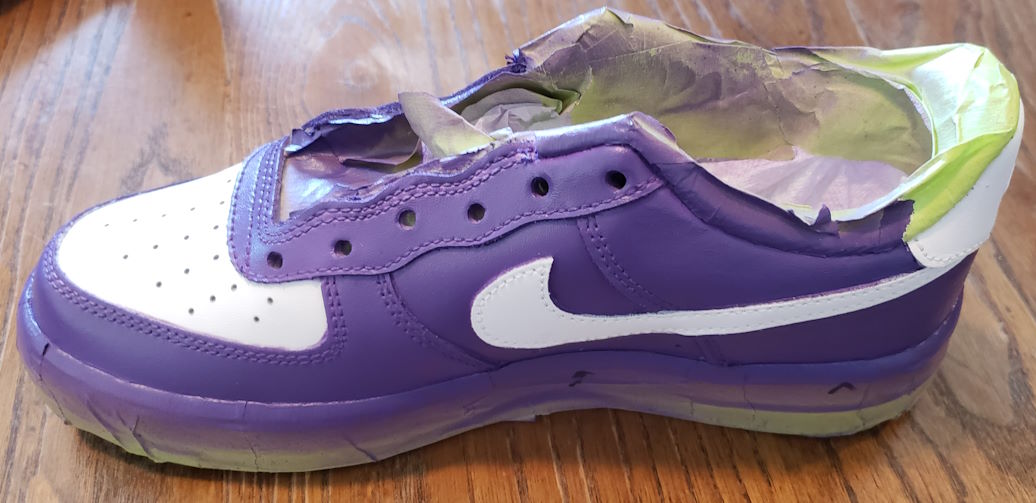
The shoes were first air-brushed purple in three coats. Then the tape was removed to reveal the unpainted parts that were to be painted yellow:
Then the yellow parts were painted in four coats by brush. More coats were needed as the color is not as opaque:
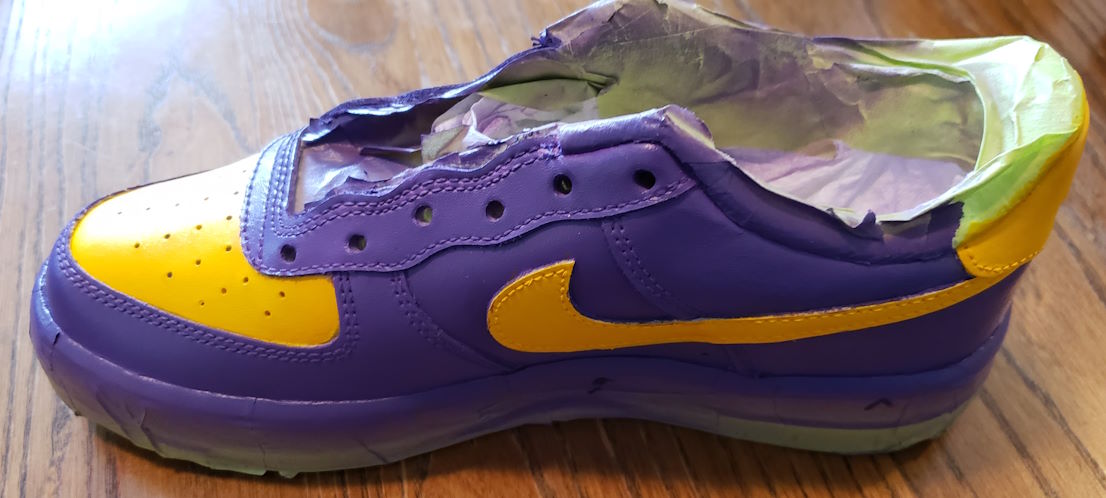
The paints I used for this step were Angelus Purple Acrylic Leather Paint and Angelus Yellow Acrylic Leather Paint.
Step 4 - Stencils for Number and Logo
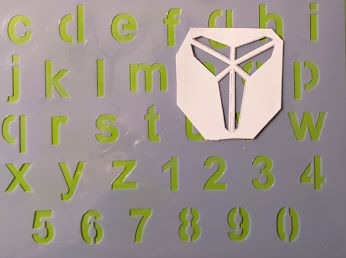
For the numbers on the sides and backs I bought a pair of alpha-numeric stencils from a Michaels store. For the “black mamba” logo I cut out a printed outline on printer paper using an X-Acto knife. These were the stencils I used:
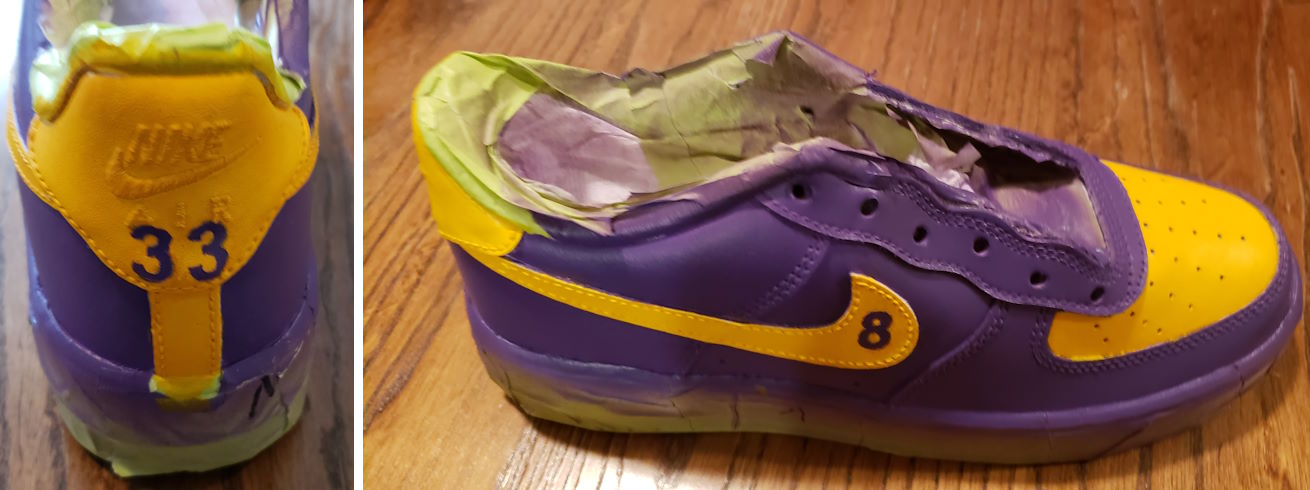
The numeric stencils from Michaels have an adhesive backing and are easy to line up and paint. I brush-painted the stencil areas with multiple coats being careful not to leak paint inside the stencil. There was some correction to be made since a little paint sometimes leaked through. The final results of the numbers:
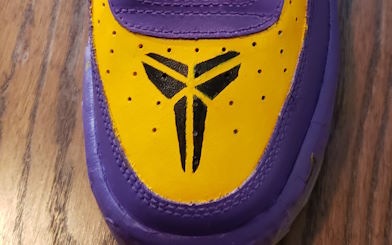
The logo stencil was more difficult to work with since the surface wasn’t flat and it had to be lined up properly to avoid the air holes in the front of the shoe. Instead of the paper and spray I found it was better to use “Oracal 813 Masking Film". The results looked reasonable considering the difficulty of hand-making the stencil:
Step 5 - Finisher and Completion
For the final finisher I sprayed three coats of the Angelus Acrylic Matte Finisher. This protects the finish and also tones down the shine a bit. Then the rest of the mask was removed from the soles and inside of the shoes. They were then completed with a special Lakers shoe string that Cheryl found online to get the final result:
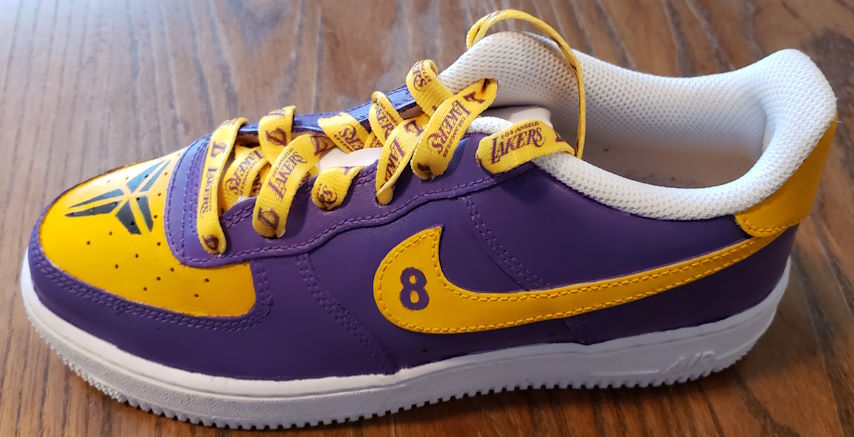
We gave them to Austin for Christmas and he was really happy with how they turned out!
Related Articles
The next article in the series is about a Starry Night sneaker project for my wife:
